
Overwhelmed? There’s Help At Hand
It’s easy to feel overwhelmed by the sheer amount of information out there about social media and it’s risks for children and teens, but you are not alone!
Which is why we have put together “bite sized” parent hacks on different social media and messaging apps, one at a time.
So your mission, should you choose to accept it, is to spend the next few minutes with us going through various aspects of privacy on facebook. You may even find it useful for yourself!

Getting Started With Facebook Privacy

If you head to the home page of your child’s facebook account just click on the three dots on the right hand side of the screen. They are labelled “More”.
This will take you to the privacy shortcuts screen, which takes you through seven stages.
1. The Privacy Checkup
2. Manage Your Location Settings
3. Control Facebook Facial Recognition
4. Who can send your child friend requests
5. Who can see your child’s friend list
6. Who can find your child online
7. Who can see your child’s online activity
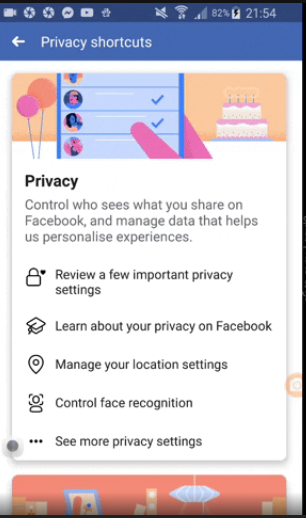
Quick Privacy Checkup
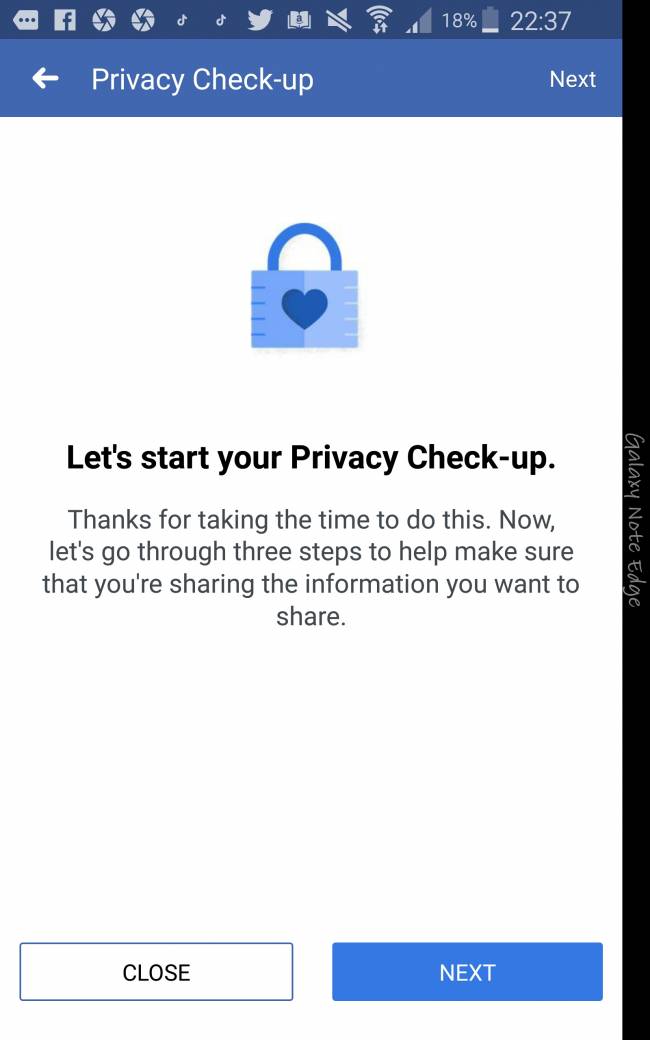
We’ll start with Stage 1 the Privacy Checkup, which consists of three steps.
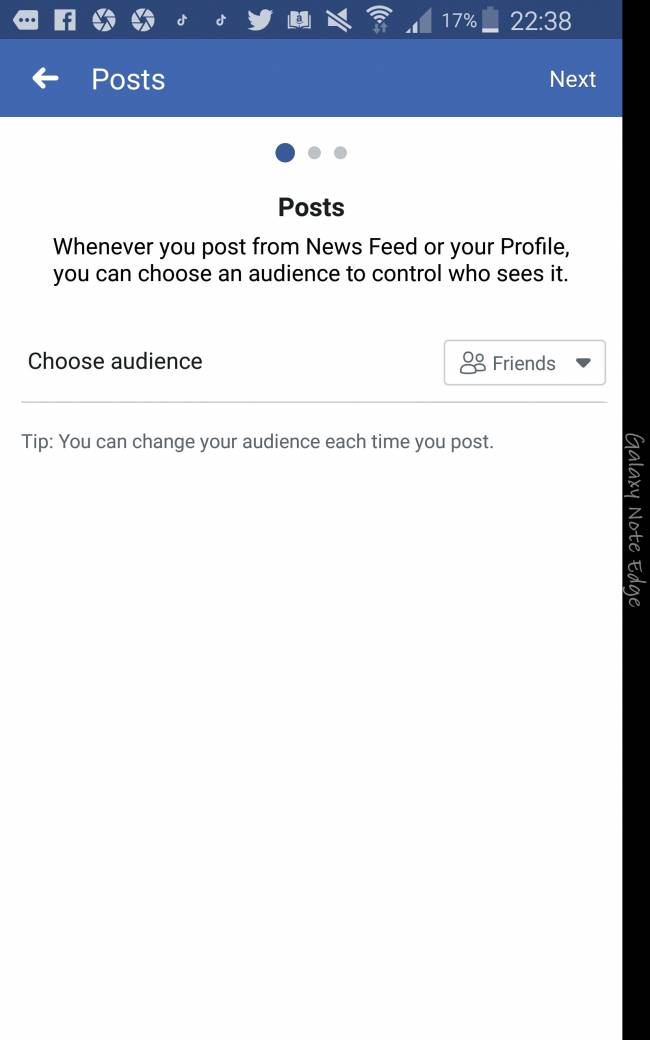
In step one you will Choose the Audience of your child’s posts by setting it to Friends.
Step two is very important. All personal information such as phone number, email address and school must .
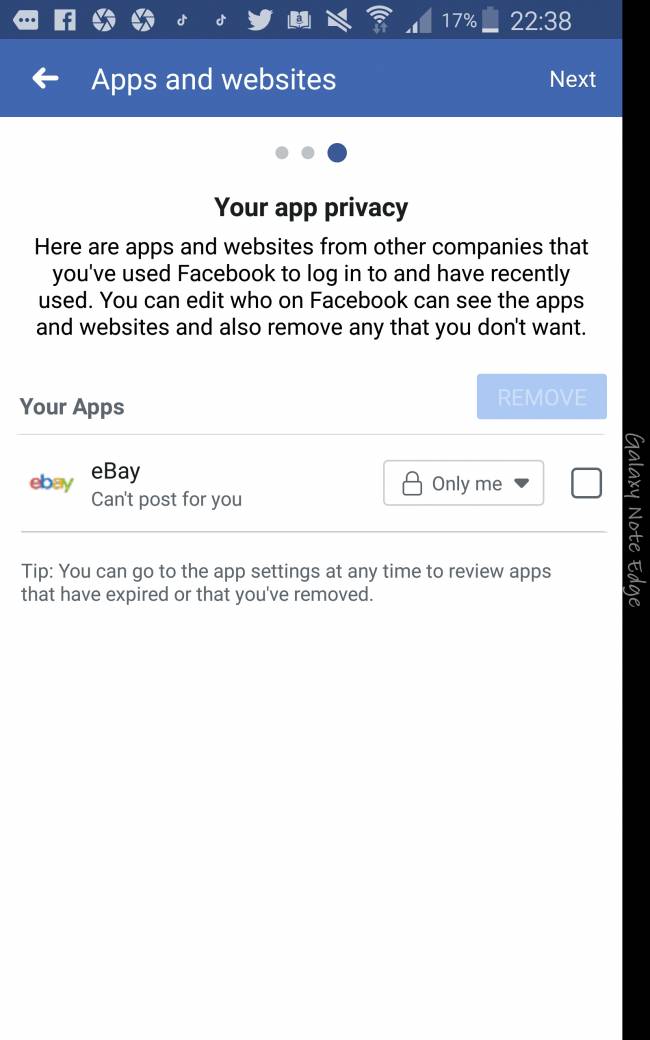
And step three limits who can see which apps your child uses by logging in via facebook. Select “only me”.
The next screen tells you that the privacy checkup is complete but that is misleading. Remember the Privacy Checkup is just the first stage of the privacy shortcuts so there are a few more things we need to do.
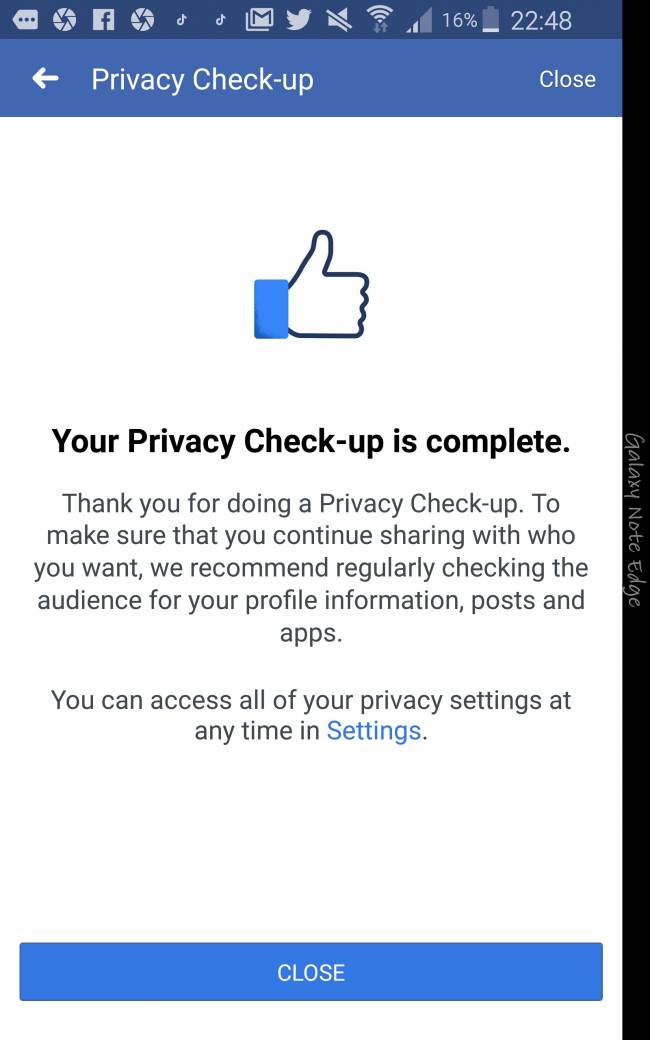
When you click on “close” it will take you back to the Privacy Shortcuts screen to cover the next two steps: location and facial recognition.
Location and Facial Recognition
These are pretty simple; select “Manage your location settings” and just switch location services to “off”. Then come back to the privacy shortcuts screen
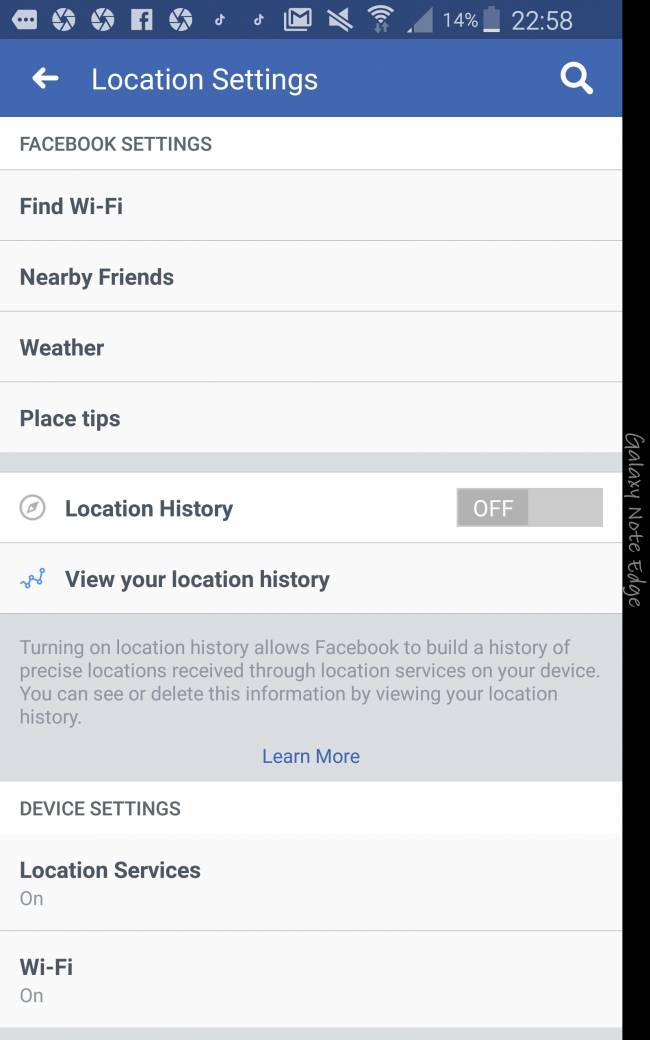
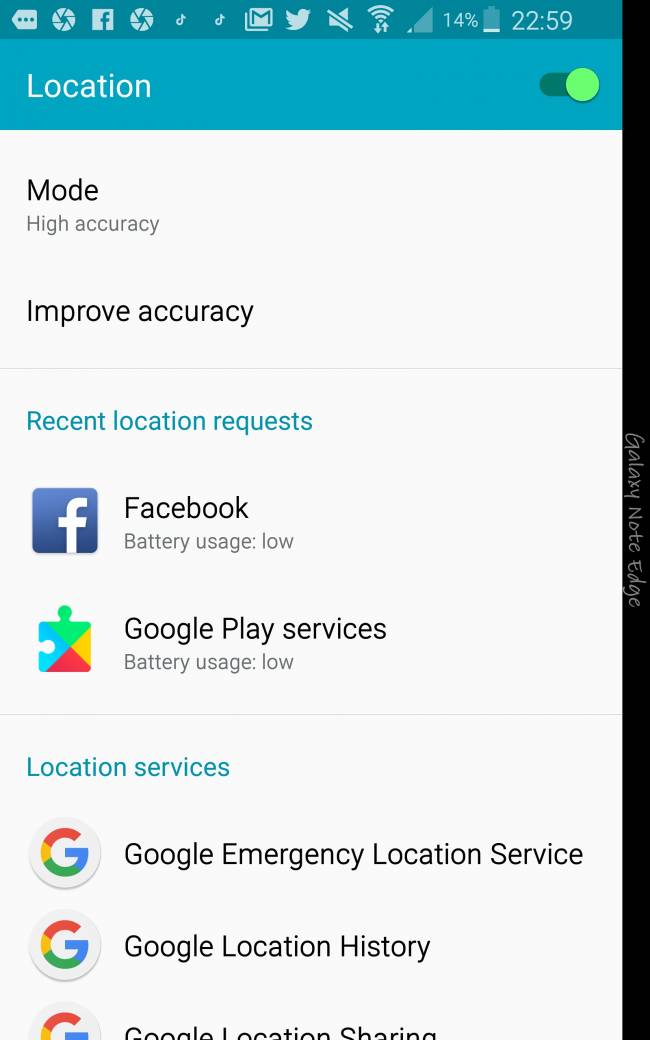
Then select “Control Face Recognition” . Face recognition allows facebook to identify your chid in any photo or video uploaded by anyone. That really isn’t something you want since the person who posts the photo may not have such tight security on their account. So set that to “No”.
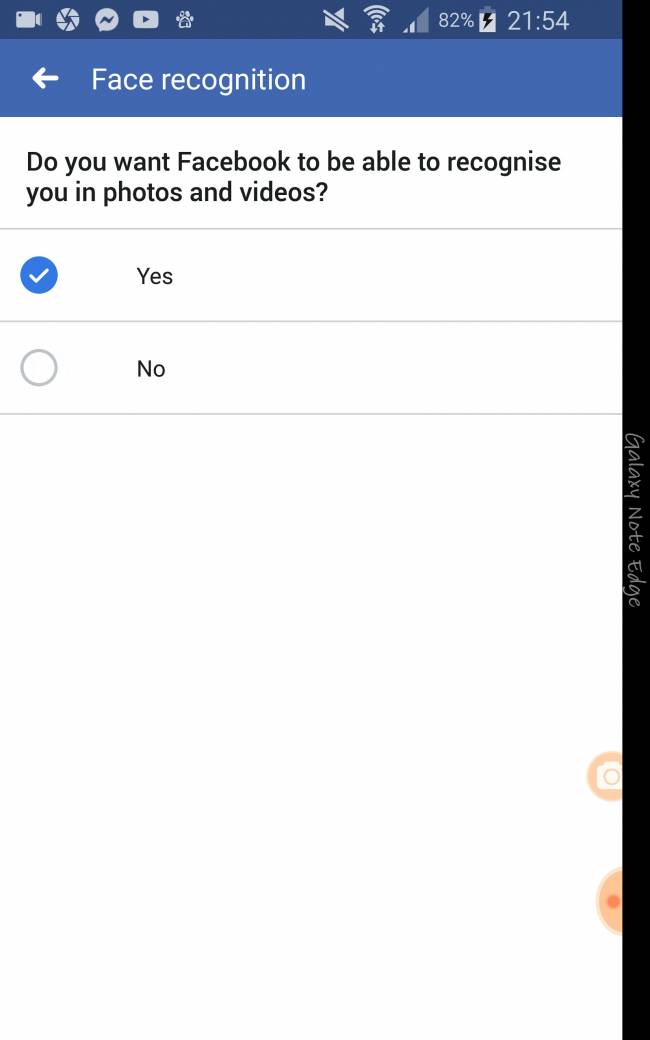
So just to review our progress on Privacy shortcuts, we have completed the Privacy checkup, managed our child’s location settings and controlled facial recognition.
We’ll finish the Privacy Setup in part 2 next week.


