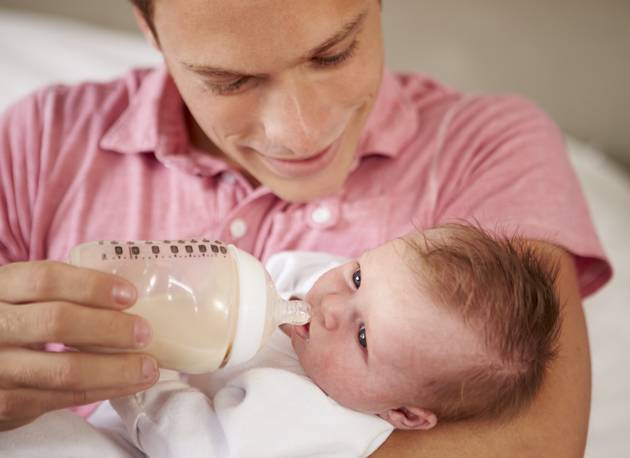
You may not have control over when your baby feels hungry or starts crying for food, but one thing you can brush up on is how to clean the bottles and feeding utensils they use. If you’re thinking a sponge with a squirt of fairy liquid will do the trick, think again. For babies who are less than a year old and bottle fed, you’ll need a steriliser. Why do you need one? What do you need to sterilise? How many types are there? Don’t worry, we’ve put together a quick guide and some top tips to get you going…
Why Do You Need A Steriliser?
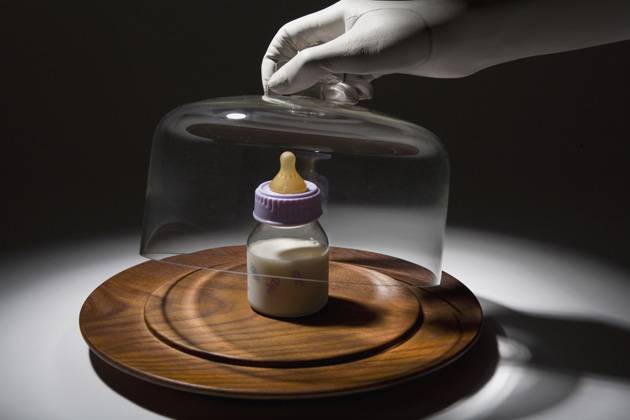
Unless your baby is completely breastfed, you’ll be feeding them formula, expressed breast milk in a bottle or a combination. Babies don’t have a completely developed immune system and warm milk is the ideal breeding ground for germs and harmful bacteria. Without the essential antibodies to fight bacteria they can easily fall ill. It’s therefore vital to keep your baby’s bottles and any feeding equipment clean and safe. A steriliser will kill the bacteria on bottles and teats and most importantly it will do it quickly.
What Things Need Sterilising?
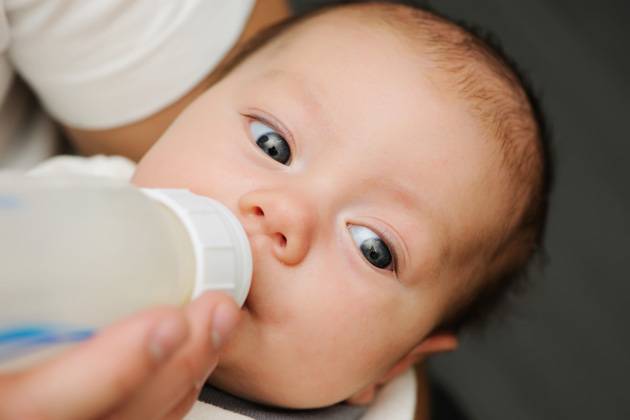
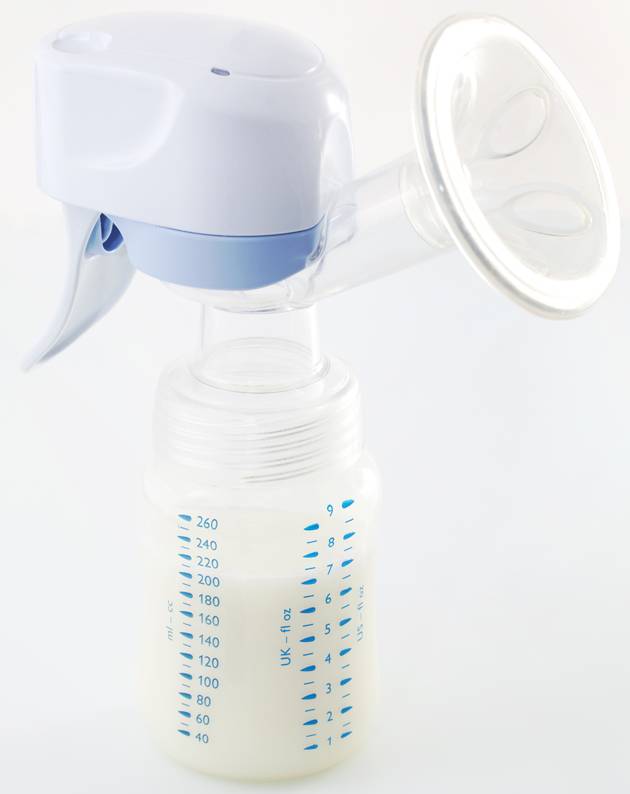
Government guidelines state that you should sterilise all your baby’s milk feeding equipment for their first year. If you start weaning them on to solids early, you’ll need to sterilise all their weaning equipment until they’re six months old too. This includes bottles, teats, breast pumps, dummies and for weaning, baby spoons and bowls. Before you use the steriliser, all feeding items need to be washed with hot soapy water and rinsed well. Your hands and work surface need to be clean too. It sounds time consuming but you’ll soon get into the swing of doing it and it’ll become second nature.
What Types Of Steriliser Are There?
There are three types of steriliser – electric, microwave and cold water. As with most things there are advantages and disadvantages to all of them so you’ll need to choose what fits in well with your lifestyle.
Electric
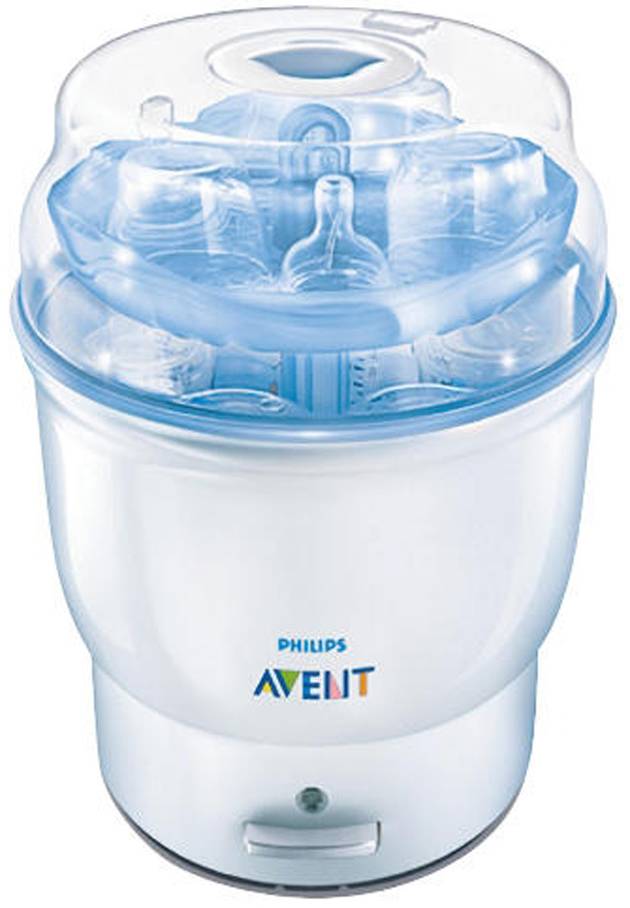
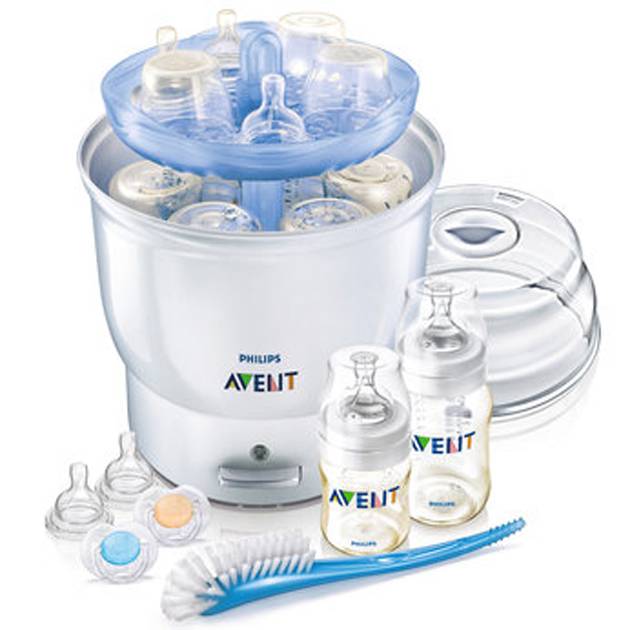
Electric steam sterilisers are often the most popular for home use. They require no chemicals or rinsing and pretty much just need plugging in with a bit of water adding. Sterilising can take anywhere from 6 to 15 minutes and any bacteria is killed off using the heat from the steam. You will need to check the brand you buy but some models keep items sterile for up to 24 hours if you keep the lid closed.
Microwave
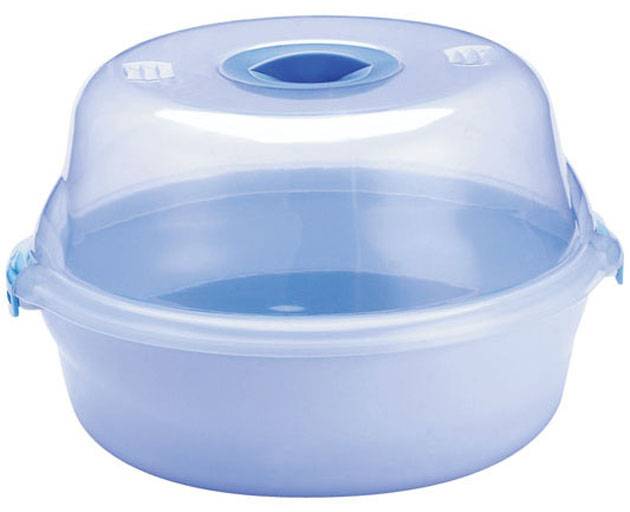
Microwave sterilisers are very similar to electric ones in that they need no chemicals or washing out and kill bacteria from the heated steam. Just make sure you add the instructed amount of water to the unit. Although ideally bottles should be used immediately, they’ll remain sterile in there anywhere from 8 to 24 hours. Depending on the wattage, microwave sterilisers take between 3 and 8 minutes to run a cycle. Some can even double up as a cold steriliser for easy travel use.
Cold Water
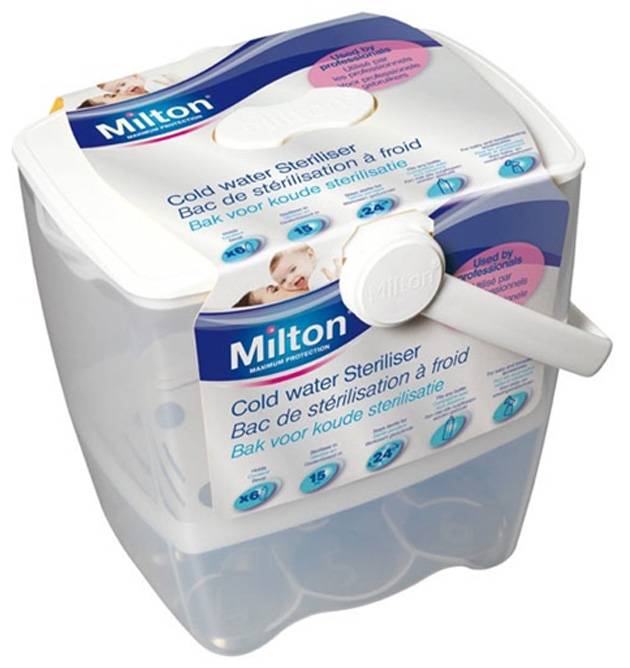
This method involves tablets or liquid, along with a plastic container and lid. You basically soak the items submersed in the solution for 30 minutes. The solution will remain sterile for 24 hours so as long as you leave your baby items completely under water you can use it any time during that time frame. Rinse items off in recently boiled water before use to subdue the smell of the solution. Some babies don’t like it. This is a cheaper method of sterilising and one that’s great if you’re travelling with kids.
Which Type Is Best For You?
Think about where and how often you will need to feed your baby using bottles and equipment. The big difference between the three types of steriliser is size and capacity. If your baby is going to be bottle fed frequently, you’ll need a steriliser that can store more bottles. On average babies need six bottles a day if they are completely formula fed. If your partner is expressing milk either solely or in combination with formula, you will need room for breast pump attachments as well as bottles.
Some models have extra features that make them more attractive. Things such as alarms to let you know when the cycle is complete or a water filter to control lime scale. A set of tongs and a bottle brush sometimes come packaged with bottles too. Some sterilisers can even be set to keep running a cycle every few hours so you can time it for when you’re back from work.
Speed is a consideration. If you want something quick, electric and microwave sterilisers take a matter of a few minutes where as a cold one will take around 30 minutes. Electric sterilisers tend to fit more items in them but they will need a permanent spot in your kitchen.
Some microwave sterilisers can double up as a cold one so are good for travel. Check the size of your microwave first though as some microwave ovens can be too small for certain models. If cost is a big issue, cold sterilisation is the way forward as it’s cheaper. No fancy kit or advanced features. You have to decide whether it’s worth the saving for the process to take you longer.
TOP TIPS
• If you’re planning on having more than one child choose a good sized model that will last longer
• Buy a steriliser that matches the other brand products you have, as they will be designed to use together. Some bottles won’t fit in to other brand sterilisers – not something you want to realise when you get it home
• If money is not an issue, buy something to keep in your kitchen at home and use tablets and a tub for when you travel
• Think about how often your baby is going to be bottle-fed. If it’s more often than not, make sure to get a steriliser with a larger capacity
• Consider the speed of sterilising and how much time you have to get things done
• If you’re buying everything together it’s more cost effective to buy a package with your bottles, teats and steriliser as one bundle. You also won’t need to worry about items not fitting together
• Once bottles and teats show signs of wear and tear, replace them straight away. Cracks make it difficult to sterilise properly
